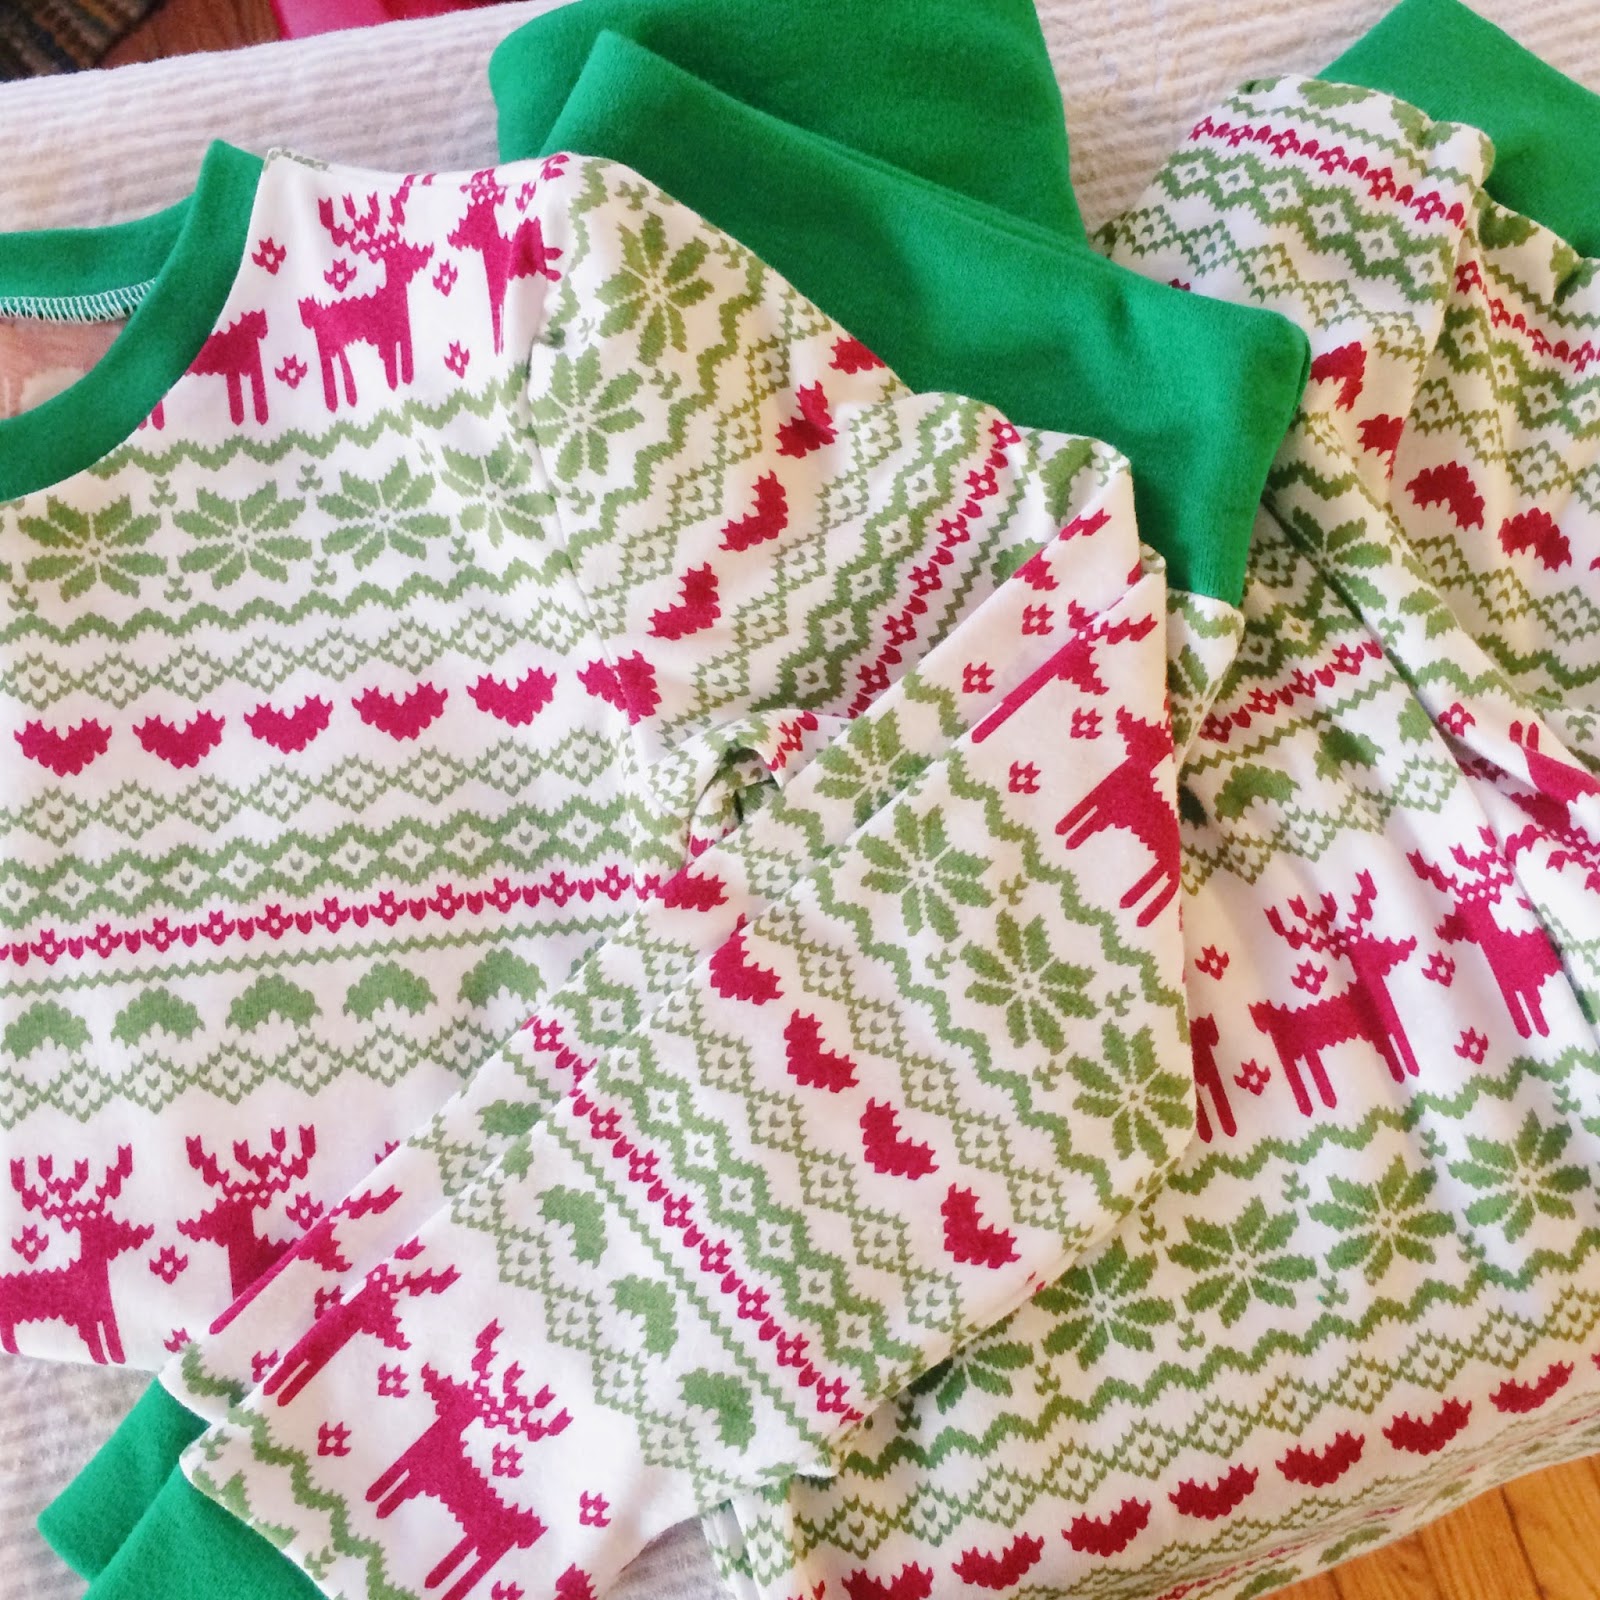
The annual Christmas jammies have been made and I even got them finished before Christmas Eve!! No patterns, I've just been using their clothes and modifying them as needed (adding seam allowance, extra length etc.) and it's been great! Jenny's pajamas were my first efforts to serge knits and oh heavens now I see what the fuss is about! I'm having issues with my tension for serging woven fabrics but it was dreamy for the knits, and the results were delightfully tidy! My efforts to get everyone in their new pajamas was not met with such great results, but everyone is cute and happy and I'd rather remember it this way anyway...and Clover puppy...always always photo bombing her tiny humans. (If you look on the bookshelf behind them you can see another photo of them in their Christmas pajamas, I think it was the year I was pregnant with Nomi?) Talking more about the origin of this tradition over on Spark today!
Showing posts with label sewing. Show all posts
Wednesday, December 17, 2014
Monday, November 3, 2014
Halloween Costumes
I have never been much of one for Halloween, as a kid I didn't like the scary parts, and honestly when you don't eat the candy it kind of looses the charm. That all aside, Halloween has sort of become one of my favorite holidays because of the fabulous fun of planning costumes with my kids and challenging myself to make them just what they want. This year we had Medusa, a Mutant Shark, and a Turtle, and oh my goodness what fun! Jenny's costume was simple, green long-johns and play silks with rubber snakes tied into her dreads, and some seriously fabulous scary snake makeup. We used this organic face paint, then carefully pulled a fishnet stocking over her head before applying a heavy coat of blue and bronze shimmery makeup...(seriously I have no idea how this is a normal makeup color pairing for any skin tone, but as it was exactly what we needed I'm glad they make it!), crazy green and gold eyes and orange lips and she was done.
Bobby's costume was actually quite simple, felt was on sale 50% off and is so easy to work with that his costume was totally done in an hour. I used the really heavy sew-in interfacing for the teeth so they would be a bit firmer, but it was really just a matter of making his picture into a costume. I want to make another more traditional looking shark because it would be such a great dress up piece, don't you think?
{note the "bite" out of the second dorsal fin, because of course mutant sharks have two... to go with their eye patches...}
Nomi's turtle costume was a very last minute decision, (think Halloween morning) because he kept changing his mind. Thankfully I had green velour on hand for making waldorf-style gnome dolls, and I had the perfect thrifted afghan for the rest of it. I don't seem to have a picture of the shell, but I'm sure you can picture it. I based the pants off of the pants he was wearing, it's such a great simple way to make children's pants, I could do a tutorial if anyone is interested? I made him a simple jacket inspired by the one in The Children's Year, although I had to modify it for the fabrics I was using and how big his sweet head is. But it turned out adorably and he stayed warm and toasty all night. I want to add some fasteners to the jacket so he can continue to wear it, the pants are already a new favorite.
We gathered with my brother's family and and made the usual rounds for trick or treating, although the next day the candy disappeared before anyone broke out in eczema from all of the corn and chocolate. Thankfully nobody seemed to notice! The fun of dressing up and going around is really where it's at anyway. Now it's November and I'm excited to dive into holiday planning and making, I'm getting a late start this year, but for some reason I'm much calmer than I usually am. Hopefully that will hang around for the rest of the year. Oh! And a new month means new contributors to the Spark! photo project, this month we have two wonderful mamas joining us and you wont be sorry you stopped by!
Tuesday, June 25, 2013
{Crafting On:: Baby Girl Edition}
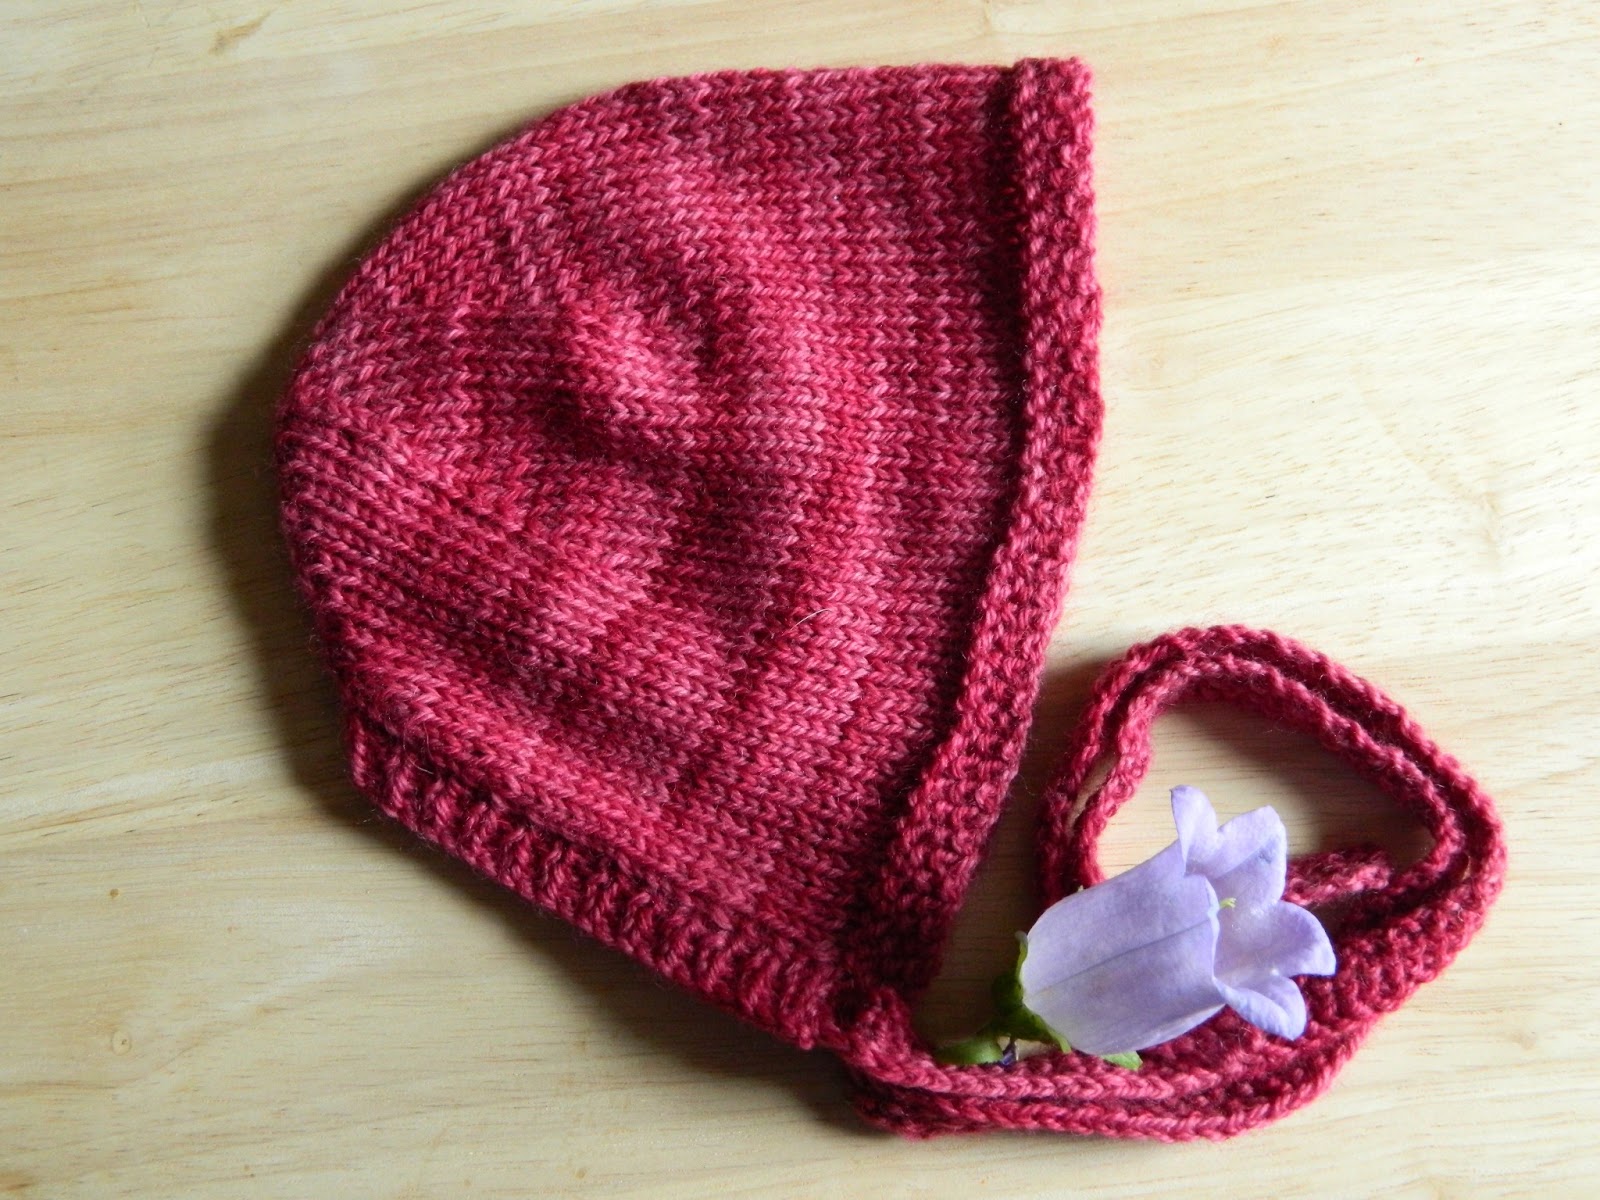
I recently had the chance to do some crafting for a friend's sweet new baby girl. Oh goodness, so.much.fun. I knew right away that I wanted to knit a little milo vest, and there was more than enough yarn left for a matching bonnet (because obviously I am a firm believer in babies wearing hats, no matter what the season), in fact I still have nearly half of the skein left! The yarn is some lovely Luna Grey "Zeta", in the Cherry Ice colorway...so lovely to knit with, I'll be looking at this yarn again for sure. {Raveled here}
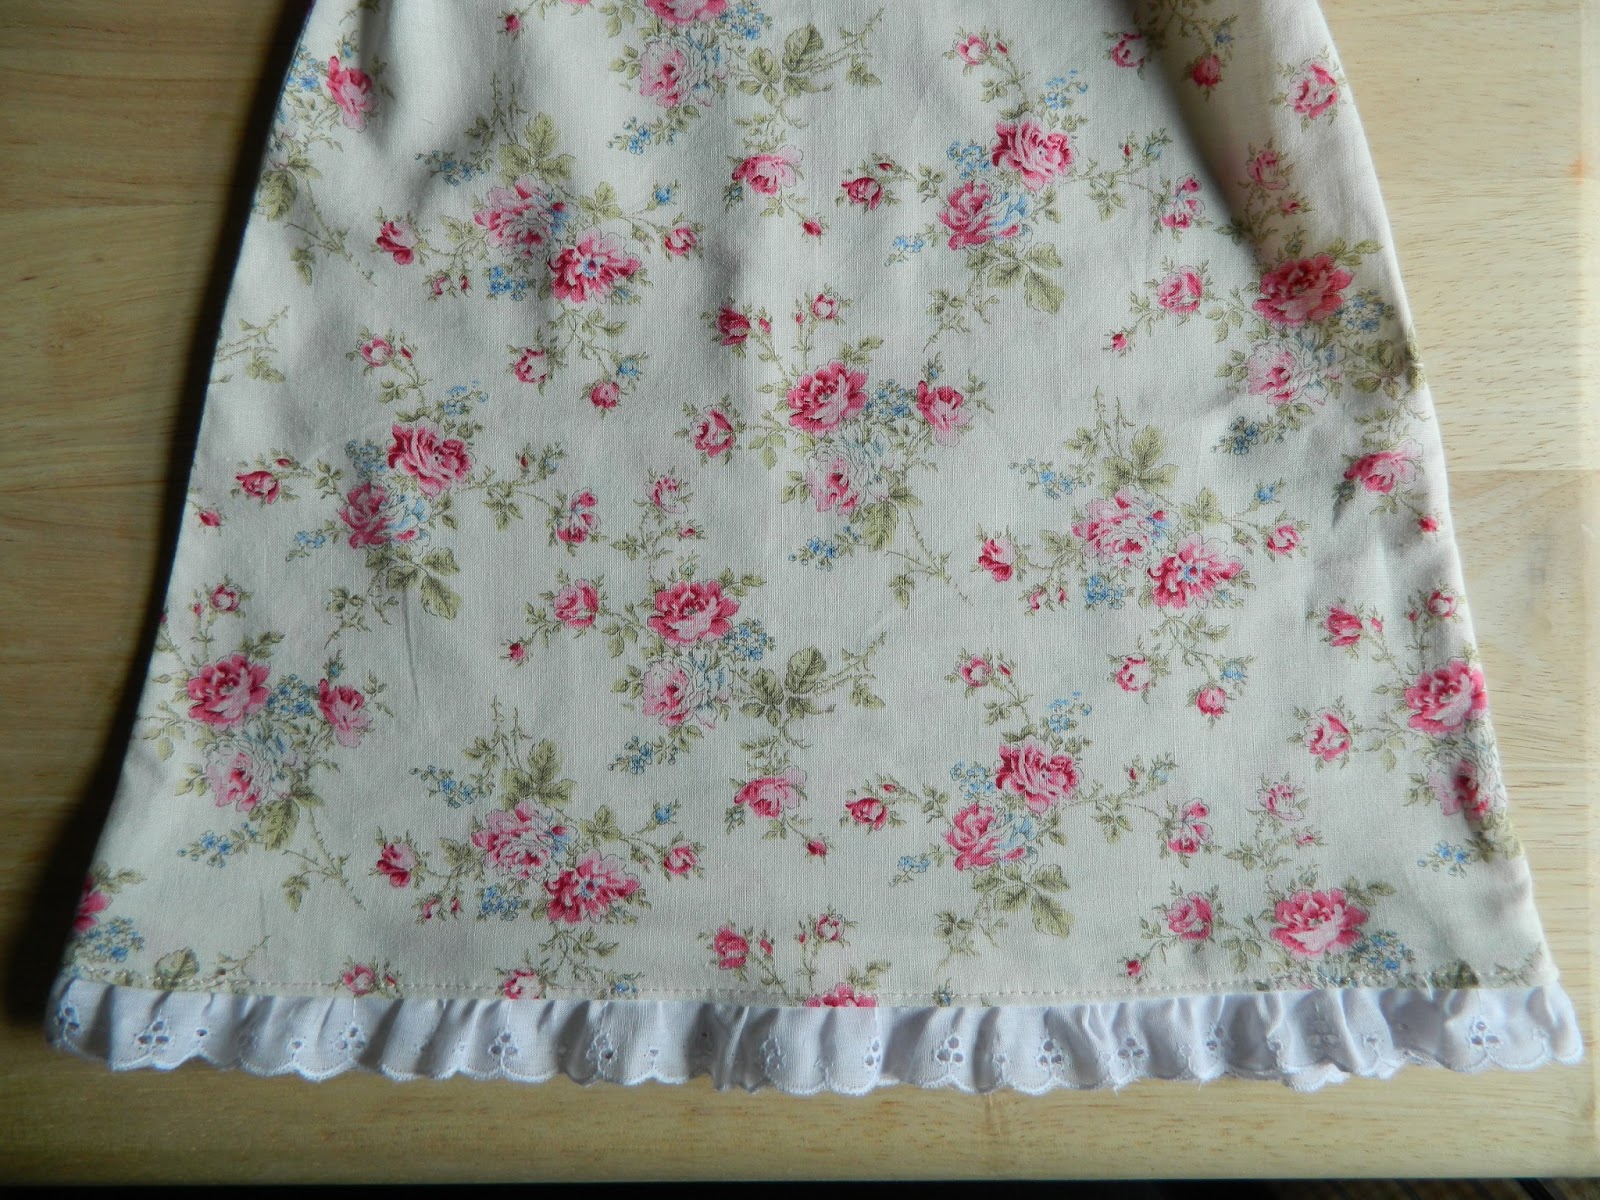
This dress turned out exactly the way I had envisioned it, which is always so gratifying...and not always the way it goes!! I've had this fabric in my stash for a little while now, I think I still have enough left to edge some pillow cases or something lovely like that. I used this tutorial for it and it went really well. I was worried that they would be too small for the little miss, who is now six weeks old, but to my delight she is still beautifully tiny and should be able to wear everything for a little while! I got in some major baby snuggles at her shower on Sunday...don't you just love showers when the baby is there to hold and love? I leave you with just a few more pictures of girly frills... For more crafty goodness go check out the link up at Frontier Dreams!
Monday, December 3, 2012
{Rice Warmers}
Happy December! We are settling back into normal life after our two week trip. Is it really possible that we have only been home since Friday night? It's been a blur of sick kids, grocery shopping, laundry, cleaning and decorating. We had a wonderful time with our family, but it always feels so good to be HOME!
I am thrilled to say that I am guest posting over at the wonderful Rhythm of the Home blog this month! Today is my first post, as part of their "Being" series, and I will be sharing every Monday! To go along with my post over there, I wanted to share a tutorial for these simple rice bags that we make. We use them heated up for sore muscles, or from the freezer for bumps, and we all take one to bed with us to help us stay toasty while we fall asleep. They also make wonderful gifts! Now I do also have to say that my camera and I were having a bit of a fight this evening and nothing I did would fix the dreadful lighting situation...so I hope the black and white images work alright for everyone!
Materials:
- two pieces of flannel about 7.5"x7.5" although you can adjust this. We like smaller ones for the freezer, but this size is good for heating pads and bed warmers! I like to use old receiving blankets (which is why the edges of this one are rounded).
- one pound of rice
- a few tablespoons of dried lavender *or two-three herbal tea bags to scent your warmer
- sewing supplies (scissors, sewing machine, thread, needle if you are sewing the opening shut by hand)
- a funnel -I use a canning jar funnel and it slides into the opening perfectly, although in a pinch you could roll paper into a cone and that will certainly get the job done!
Step 1: Cut out your flannel pieces. Squared edges are fine, and what I normally do, two of these edges were already rounded so I just traced the curve onto the other corners.
Step 2: Place right sides together and stitch around your edges, leaving a 4" opening. Be sure to back-stitch at the beginning and end of this seam! Do a narrow zig-zag around the edges to ensure everything stays nice and tidy.
Step 3: Turn rightside out and smooth seam along curves by running your finger along the seam inside of the warmer. Iron everything nice and flat, and press the seam allowance in 1/4" at the opening.
{See how nicely the funnel fits in the opening? This happened by accident one time I was winging it and I was clever enough to measure it.}
Step 4: Fill the bag 2/3 full with the rice. It might not seem like enough at first, but any more and it gets tricky to sew shut, and once you lay the warmer down and everything redistributes there really isn't room for anything more than this. This bag used an entire one pound bag of rice. Add in your dried lavender, or if you're using herbal tea bags, simply cut the bags open and sprinkle the contents into the warmer.
Step 5: Either stitch the opening shut by hand, or carefully zig-zag shut with your machine. The machine is obviously faster, but is also tricky since you have to be careful to not dump the rice! I've done it both ways, it's really up to you.
Step 6: Enjoy! Like I mention in the picture, we heat ours for 2 minutes, but every microwave heats differently so check it. With kids, err on the side of cooler, I always heat my own a bit more. You can just shake it around to cool it quickly. However, don't over heat it! You just think burnt popcorn smells bad.... *ahem* I have found that a smaller size of about 3"x3" is also quite handy. We store them in the freezer for bumps, and they are great heated up (it takes much less time for the small size!) for pocket warmers. If you want to make these a bit fancier, (or are giving them as gifts) you might like to make a cover for them. Simply make a slip cover like a pillow case, about 1/2" larger than the finished warmer.
I hope that helps you out a bit, let me know if you make them!
Tuesday, April 24, 2012
Keep Calm Craft On:: Kid's Clothes Week
This week I'm joining Nicole's KCCO link up, and participating in Elsie Marley's Kids Clothes Week Challenge. I'm a bit behind on sharing my photos so you get two projects today. The first is a baby onesie for a sweet new baby in my sister's family. I used a purchased onesie with double sided fusible web to make the little bluebird applique. It's really so lovely to use and dresses up simple simple things so quickly. The skirt was sewn onto a circle of elastic first, then stitched onto the onesie so it would retain it's stretch. Very very simple but oh so cute in the end!
Next up we have two pairs of "Big Butt Pants" for Mr. Nomi-no. I LOVE this pattern! I have two more pairs cut out and ready to go and I'm hoping to get to them tomorrow. I will be making this pattern *a lot*. Be sure to check out the links above for lots of great inspiration!
Saturday, January 29, 2011
Nightgowns for Miss Jenny
Jenny has been (when she isn't giving people haircuts ;) growing like a weed this season, and the 4's and 5's that I thought would fit her through the winter simply wont last much longer! Warm pj's were the first thing on the list, and I couldn't resist making a few more things out of my favorite Simplicity 9968--she's at the biggest size now!
So, over the last week I've whipped up these two sweet nighties with some flannel from my stash.
I have been sewing for many, many years now, but this was the first time I was able stretch and sew the elastic for a cute ruffle! I've been trying for years, but it always ends with evil noises and gobs of thread being spit out of my machine and much tearful seam ripping. ;) Hurray for a new skill!
These sweet bears was actually from a stash hand-me-down from my mom!
Next up are a few warm tunic/jumpers for her with some simple warm pants for underneath! However my sewing machine took a tumble off of the table today so I have to find one more piece before I can see how much damage was (or was not!!) done to the inner workings.
Sunday, January 2, 2011
Christmas gifts:: Lots (and lots) of rice bags :)
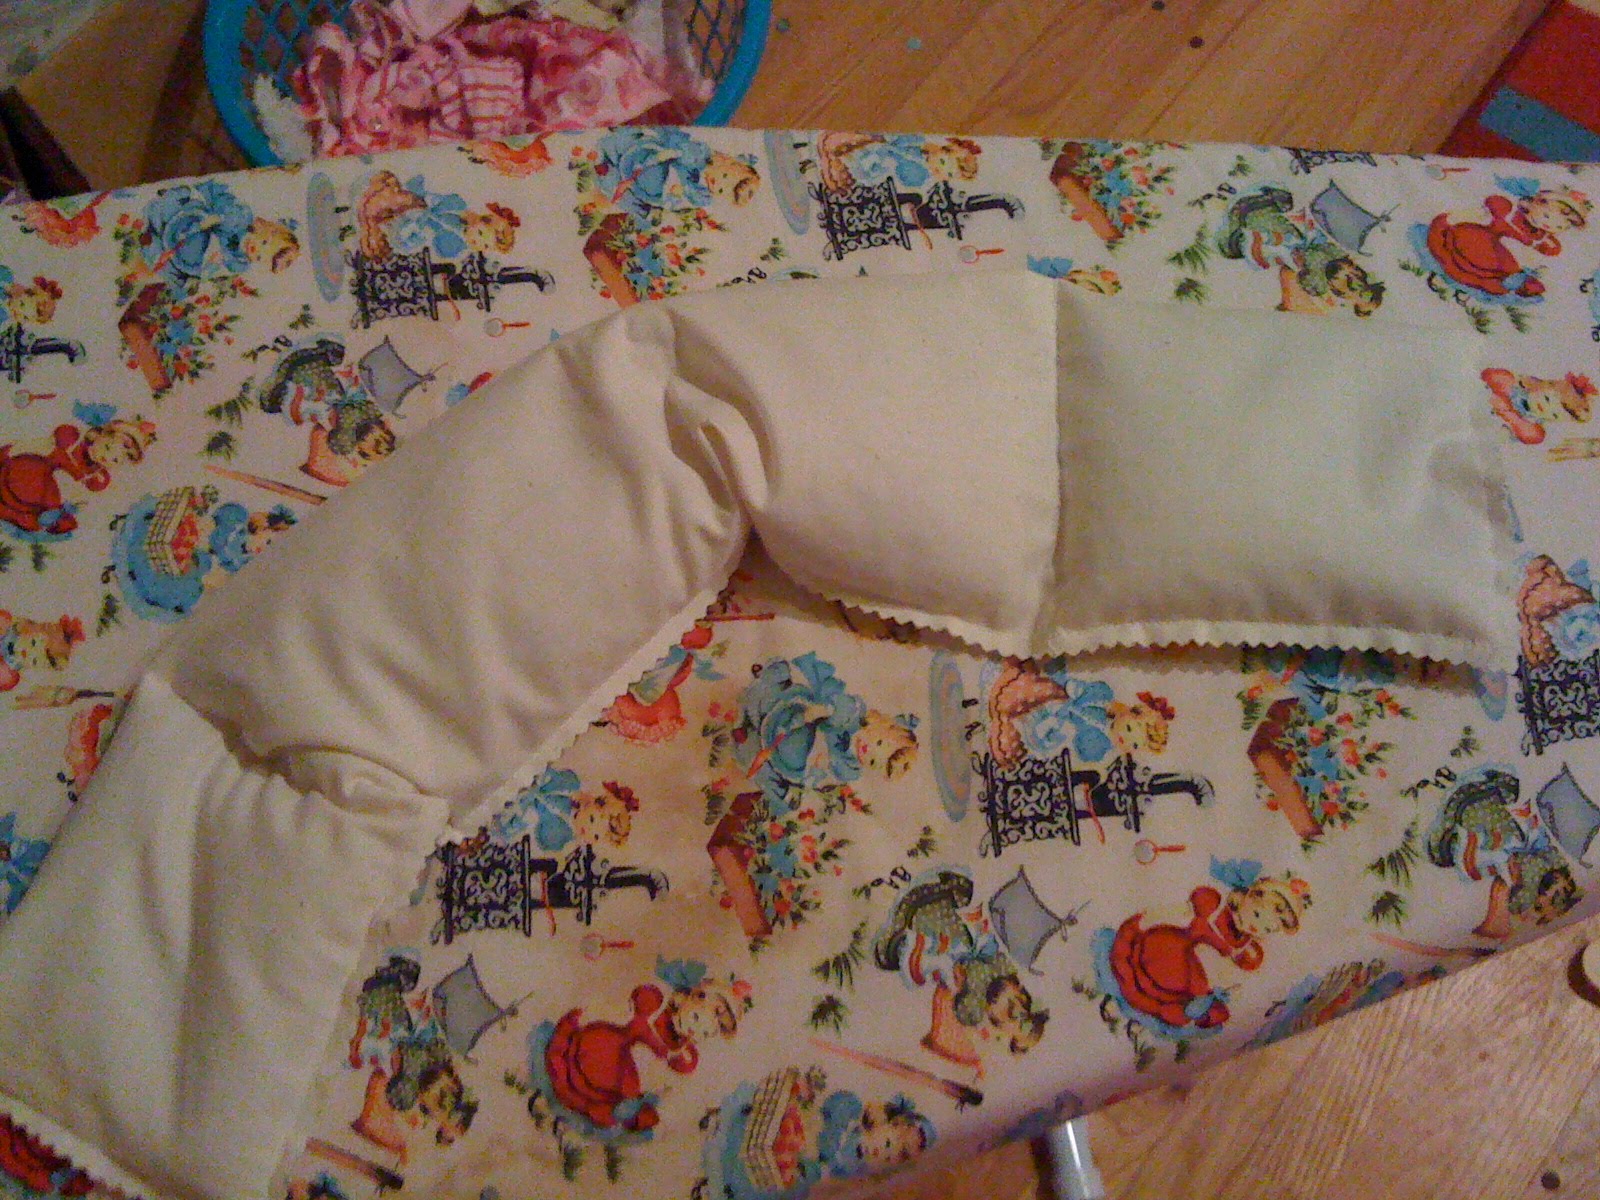
This was pretty much the go-to Christmas gift this year...fast, really inexpensive and super easy to make, these might become my go-to gift for everything! Simply make an inner bag to whatever size you like, fill about 3/4 full with rice and whatever you're using for scent (I experimented with dried lavender, tea bags (2/cup of rice), and essential oils) sew "bag" shut and you're done! I like to also make a cover to, a)make them pretty and b) keep the inner bag cleaner longer. I did all of these with a little over 10lbs. of rice and stash fabric so the cost per bag is really, really low for a really wonderful gift. Win! :)
For the 2 I made to lay around the neck of the recipient I stitched a few channels once it was stuffed so it didn't all fall to the ends...
(Rosemary essential oil for Joe's grandmother)
Once finished I sealed each in a plastic bag so the scent would be nice and fresh, but it was also a convenient way to label the scent and add instructions for the user. :) (Above is lavender for my bil's 8th b'day)
Bobby's (lavender)
Jenny's (lavender)
To go with my brother Max's pj's (apple cinnamon spice)
I did a simple overlapping back on most of them, quick and easy to make and use!
For my bil-to-be Thomas (the long one is peppermint ess. oil and the square one is a fruity tea)
Jenny helped to make one for my youngest sister Zelie to match her pj pants, but I'm not seeing the picture right now...but we made her's with chai tea and it smells delightful! I also made my midwives each a lavender scented one...again I'll try to find pictures of those! We like to toss ours (without the cover) in the microwave for about 3 minutes...they are very hot when they come out, but that gives you time to stuff them back into the cover and get to wherever you're going to use it. Jenny and Bobby call them their "warmers" and like to tuck them down under their feet at night, much like a hot water bottle. :)
Monday, December 20, 2010
Christmas Crafting:: Pajamas
Every year new flannel pajama pants are at the top of my Christmas sewing list...I have been making them for my little brothers-in-law for several years, and my kids always adore the ones they get. Who wouldn't want to curl up in cozy flannel pants?? This year I also made some for my youngest brother and sister, who my kids had in our family gift exchange.
For all of the pants I used Simplicity's It's So Easy #3554. It really is "so easy", I actually lost the instruction page, but if you've sewn any sort of pants before the construction is very basic. I really like the cuff at the bottom, as I sort of loath hemming. :) Above are my siblings' pants--Max's on the left, Zelie's on the right. I didn't get a picture, but I like to put a ribbon loop at the center back so that they can identify the front and back, since there aren't really any other indicators, but it does matter!
And these are for Joe's youngest brothers, Thomas, Matthew and John (from left to right)...fingers crossed that they all fit!! I have to make some more for my own kiddos but those have to wait for when they are sleeping! ;) (Oh, and see the baby bump peeking into the shot?Almost to the third trimester!!)
Subscribe to:
Posts (Atom)